
Full Guide to Accommodating Resistance
If you’ve ever watched my videos working with athletes, chances are you’ve spotted some sort of band/chains on a bar, rack, or on a body. This is accommodating resistance. Accommodating resistance gives the athlete the ability to produce acceleration and force with that movement throughout the entire range of motion.
And this method can be a powerful tool to enhance strength, power, and overall athleticism.
How?
When you’re looking to enhance an athlete’s performance, the goal is to establish a base of movement quality and overall structure. Once that’s set, you then take athletes into the speed of the sport. That means that we have the athlete perform movements with the same speed and intensity they need in competition. That also means we use exercises that use movements and muscles that correlate to sports function. In other words, we want to use sport-specific movements.
In order to properly move the athlete into movements that are sport-specific in regards to movement pattern and speed, we need to look at special strengths.
Special strengths are forms of strength that are performed at a particular velocities, intensities, and volumes to elicit an adaptive response necessary for the goal at hand. The special strengths are absolute or max strength, strength-speed, speed-strength, strength endurance, and explosive strength. As we take a look at a few circumstances meaning the athletes sport, training age, maturation age, and athletic ability we then can organize SS to allow for the athlete to gain the necessary strength for their particular situation.
In order to determine which special strengths to develop, we need to look at an athlete’s sport, training age, actual age, athletic ability, and other circumstances. Without this information, you’re shooting in the dark.
Once this is determined, you can then decide how you want to use accommodating resistance.
How to Use Accommodating Resistance
As I said above, when you want to use accommodating resistance, you want to look at the needs of the athlete first. Once you’ve identified the athlete’s special strength needs, then you can look at where to apply accommodating resistance in the program. Sometimes, accommodating resistance will be used on the heavy compound lift for the day. Sometimes it may be used in a kettlebell swing. Other times it may be used on some kind of row, or accessory press.
Wherever you see it fit to include accommodating resistance, remember that you need to establish a solid foundation of movement efficiency under load before this method can be implemented with any athlete.
Once you’ve decided where to include accommodating resistance, then you must pick the modality for the method. You will choose between either bands or chains. As I said above, adding bands or chains to a lift allows for more tension at the mid to end range of a movement. This accommodating resistance may feel awkward for your athlete at first. It will take some getting used to so keep exercises basic and foundational until the athlete displays unconscious competence.
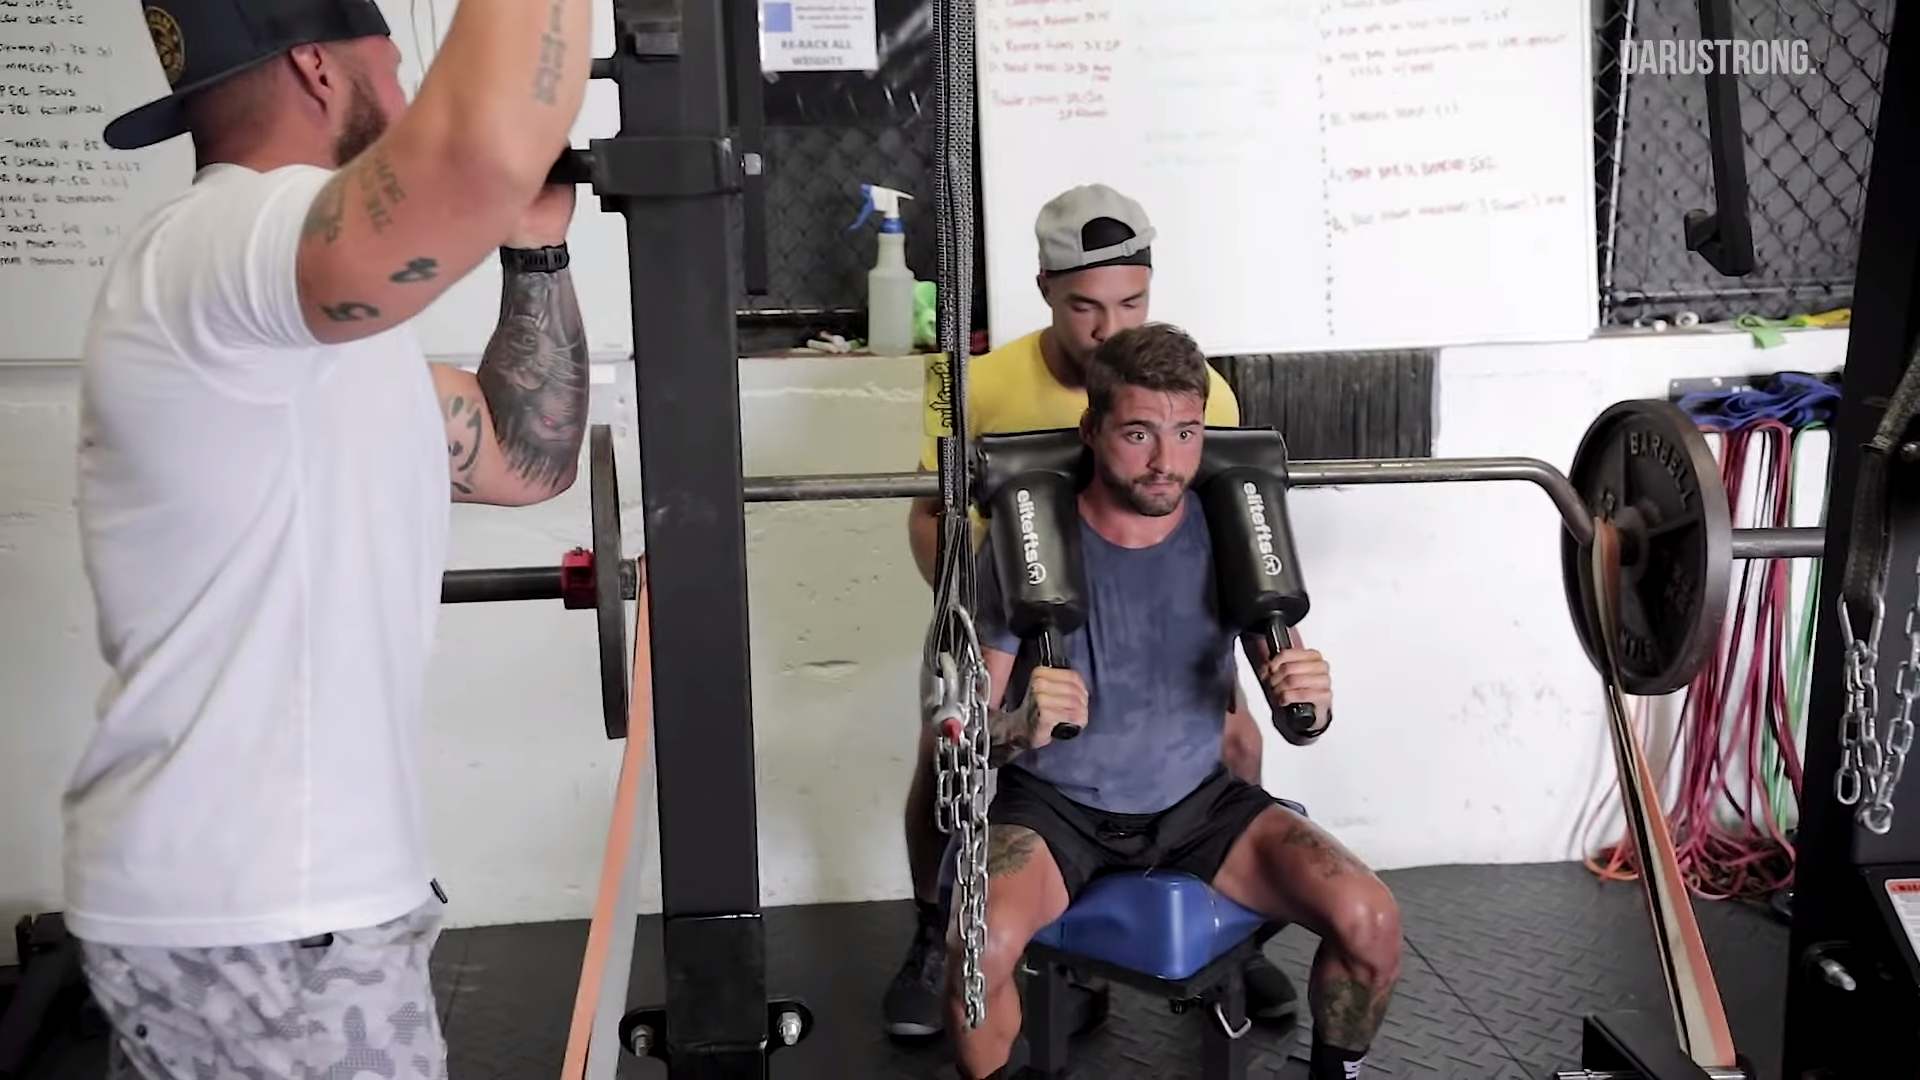
Using Chains As Accommodating Resistance
Using chains as accommodating resistance requires at least two chain links that will remain on the floor at complete lockout of the movement. This will eliminate swinging and any risk of injury due to instability.
With these chains attached to the bar, you will receive what is called abrupt loading on the concentric action of the lift. This will provide the athlete with the reference to continue producing force all the way through the end range. This is a good way to improve high force output in an advanced stage of training.
As far as loading for accommodating resistance with chains, you should know that chains usually come in weights equaling 25-30 pounds. That means that if I wanted to work strength-speed I would use around 75-80% bar weight then add 2 sets of chains on each side of the bar equating to 100 pounds at the top of the movement.
If I had an athlete with a 500 pound squat, I’d load the bar with 400 pounds (after warm up sets). Then I’d add two sets o chains on each side, equating to 100 pounds of added resistance at the top of the movement. At the top of the movement, the athlete would be under 500 pounds of load. At the bottom, he would be under 400 pounds of load.
And if you couldn’t tell from the above, chains are usually implemented on max strength and speed strength days where the load is high and intensity is in the >85% range.
This can be done one time per week or every other week depending on the athletes recoverability.
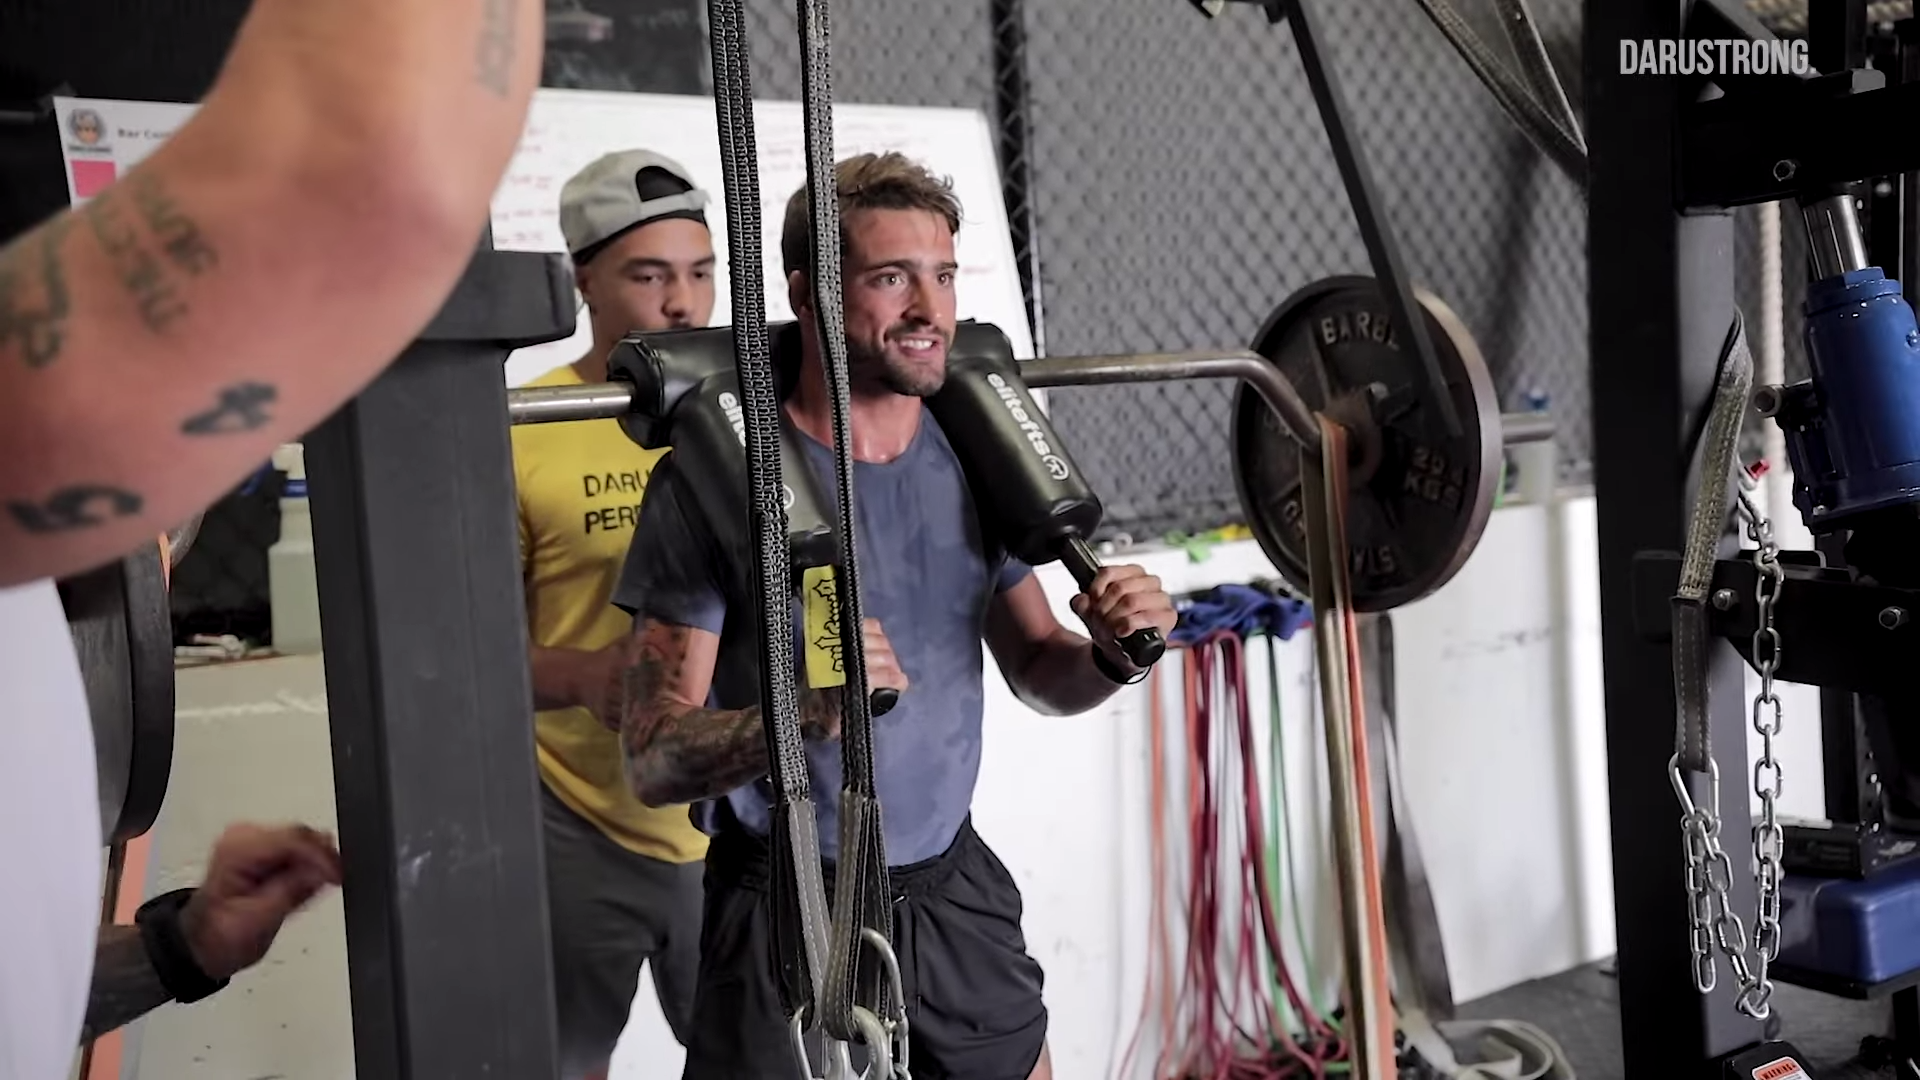
Using Bands As Accommodating Resistance
Bands, as Louie Simmons would say, are the best way to increase performance. I would agree with that to a degree. Bands not only provide accommodating resistance and compensatory acceleration (act of acceleration throughout full ROM), but it also initiates an over speed eccentric component. This allows the athlete to increase reflexive strength and elasticity.
Bands, unlike chains, can be used for both speed and strength. They also can be used for recovery when implemented in a mobility routine, but I’ll leave that for another post.
The main question that arises when using bands for accommodating resistance is how to pick the right tension. Bands provide a multitude of different tensions ranging from light to extremely heavy. When looking to increase strength speed, you want to use more band tension than bar weight, allowing for the athlete to push through and continue to “strain” throughout the entire range of motion. When looking to increase speed strength, you want to use roughly 25-30% band tension with bar weight around 50-60% depending on bar speed equivalency. This is because you want to use the bands for reflexive action and compensatory acceleration (CAT).
The next question that arises is the how to set up the bands for accommodating resistance.
If you have a rack with band pegs you want to attach bands wrapped in overlap fashion then take the band over the bar. The band should be tight at all times leaving no extra slack at the bottom. While the bar is lifted the bands stretch causing more tension and more intensity to be loaded gradually throughout movement. As the bar lowers back down in the eccentric it is driving back creating more downward force in combination of gravity. This will aid the athlete’s ability to decelerate.
Volume and Frequency for Accommodating Resistance
When trying to decide how much volume and frequency to use for accommodating resistance, you want to understand the athlete’s minimal effective volume first. This is the minimum amount of work that creates adaptations in the athlete.
Next, you want to look at the athlete’s maximal recoverable volume. This is the MAX amount of work an athlete can healthily recover from.
Finally, you want to take into account the athlete’s training schedule and their rate of perceived exhaustion from their daily tasks.
Another one of my favorite ways to calculate the volume and frequency I should use is by looking to Prilepin’s chart. Prilepin’s chart provides a simple breakdown of how the accumulation of sets and reps at a given intensity will result in various physical adaptations. You must keep in mind that this chart is only correct in theory. In reality, there are many other factors outside the gym that affect an athlete’s ability to adapt.
Where to Learn More
Accommodating resistance can be used in many ways and a variety of circumstances. It’s important that it’s implemented based on goals and focus points throughout the year.
If you want more information on how to program accommodating resistance along with other methods for power and strength, check out my Mentorship Program.
Inside of this program, you’ll get detailed breakdowns for multiple methods, learn how to fit them into a program, and uncover how to tailor these methods to individuals with different needs.